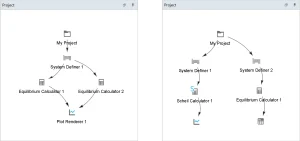
Welcome to the Getting Started Guide for Thermo-Calc

Templates Included in Thermo-Calc Graphical Mode
Calculators in Thermo-Calc:
Add-On Modules:
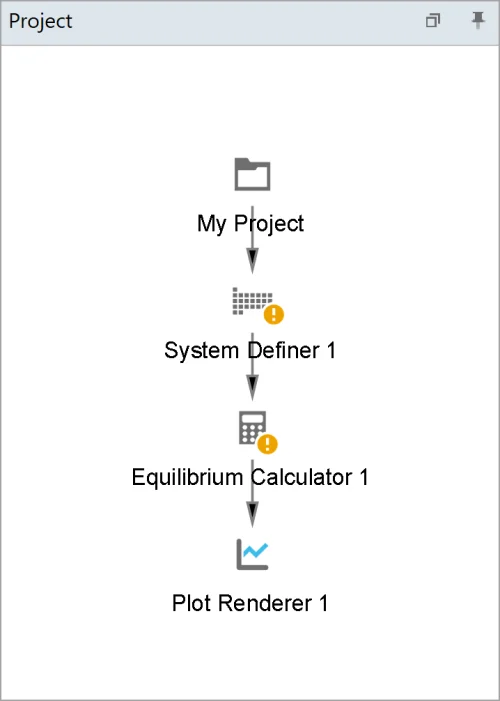
Step 1
Open the System Definer by clicking on the System Definer-node.
Step 2
To select the database, click on the drop-down list below Databases in the Configuration window.
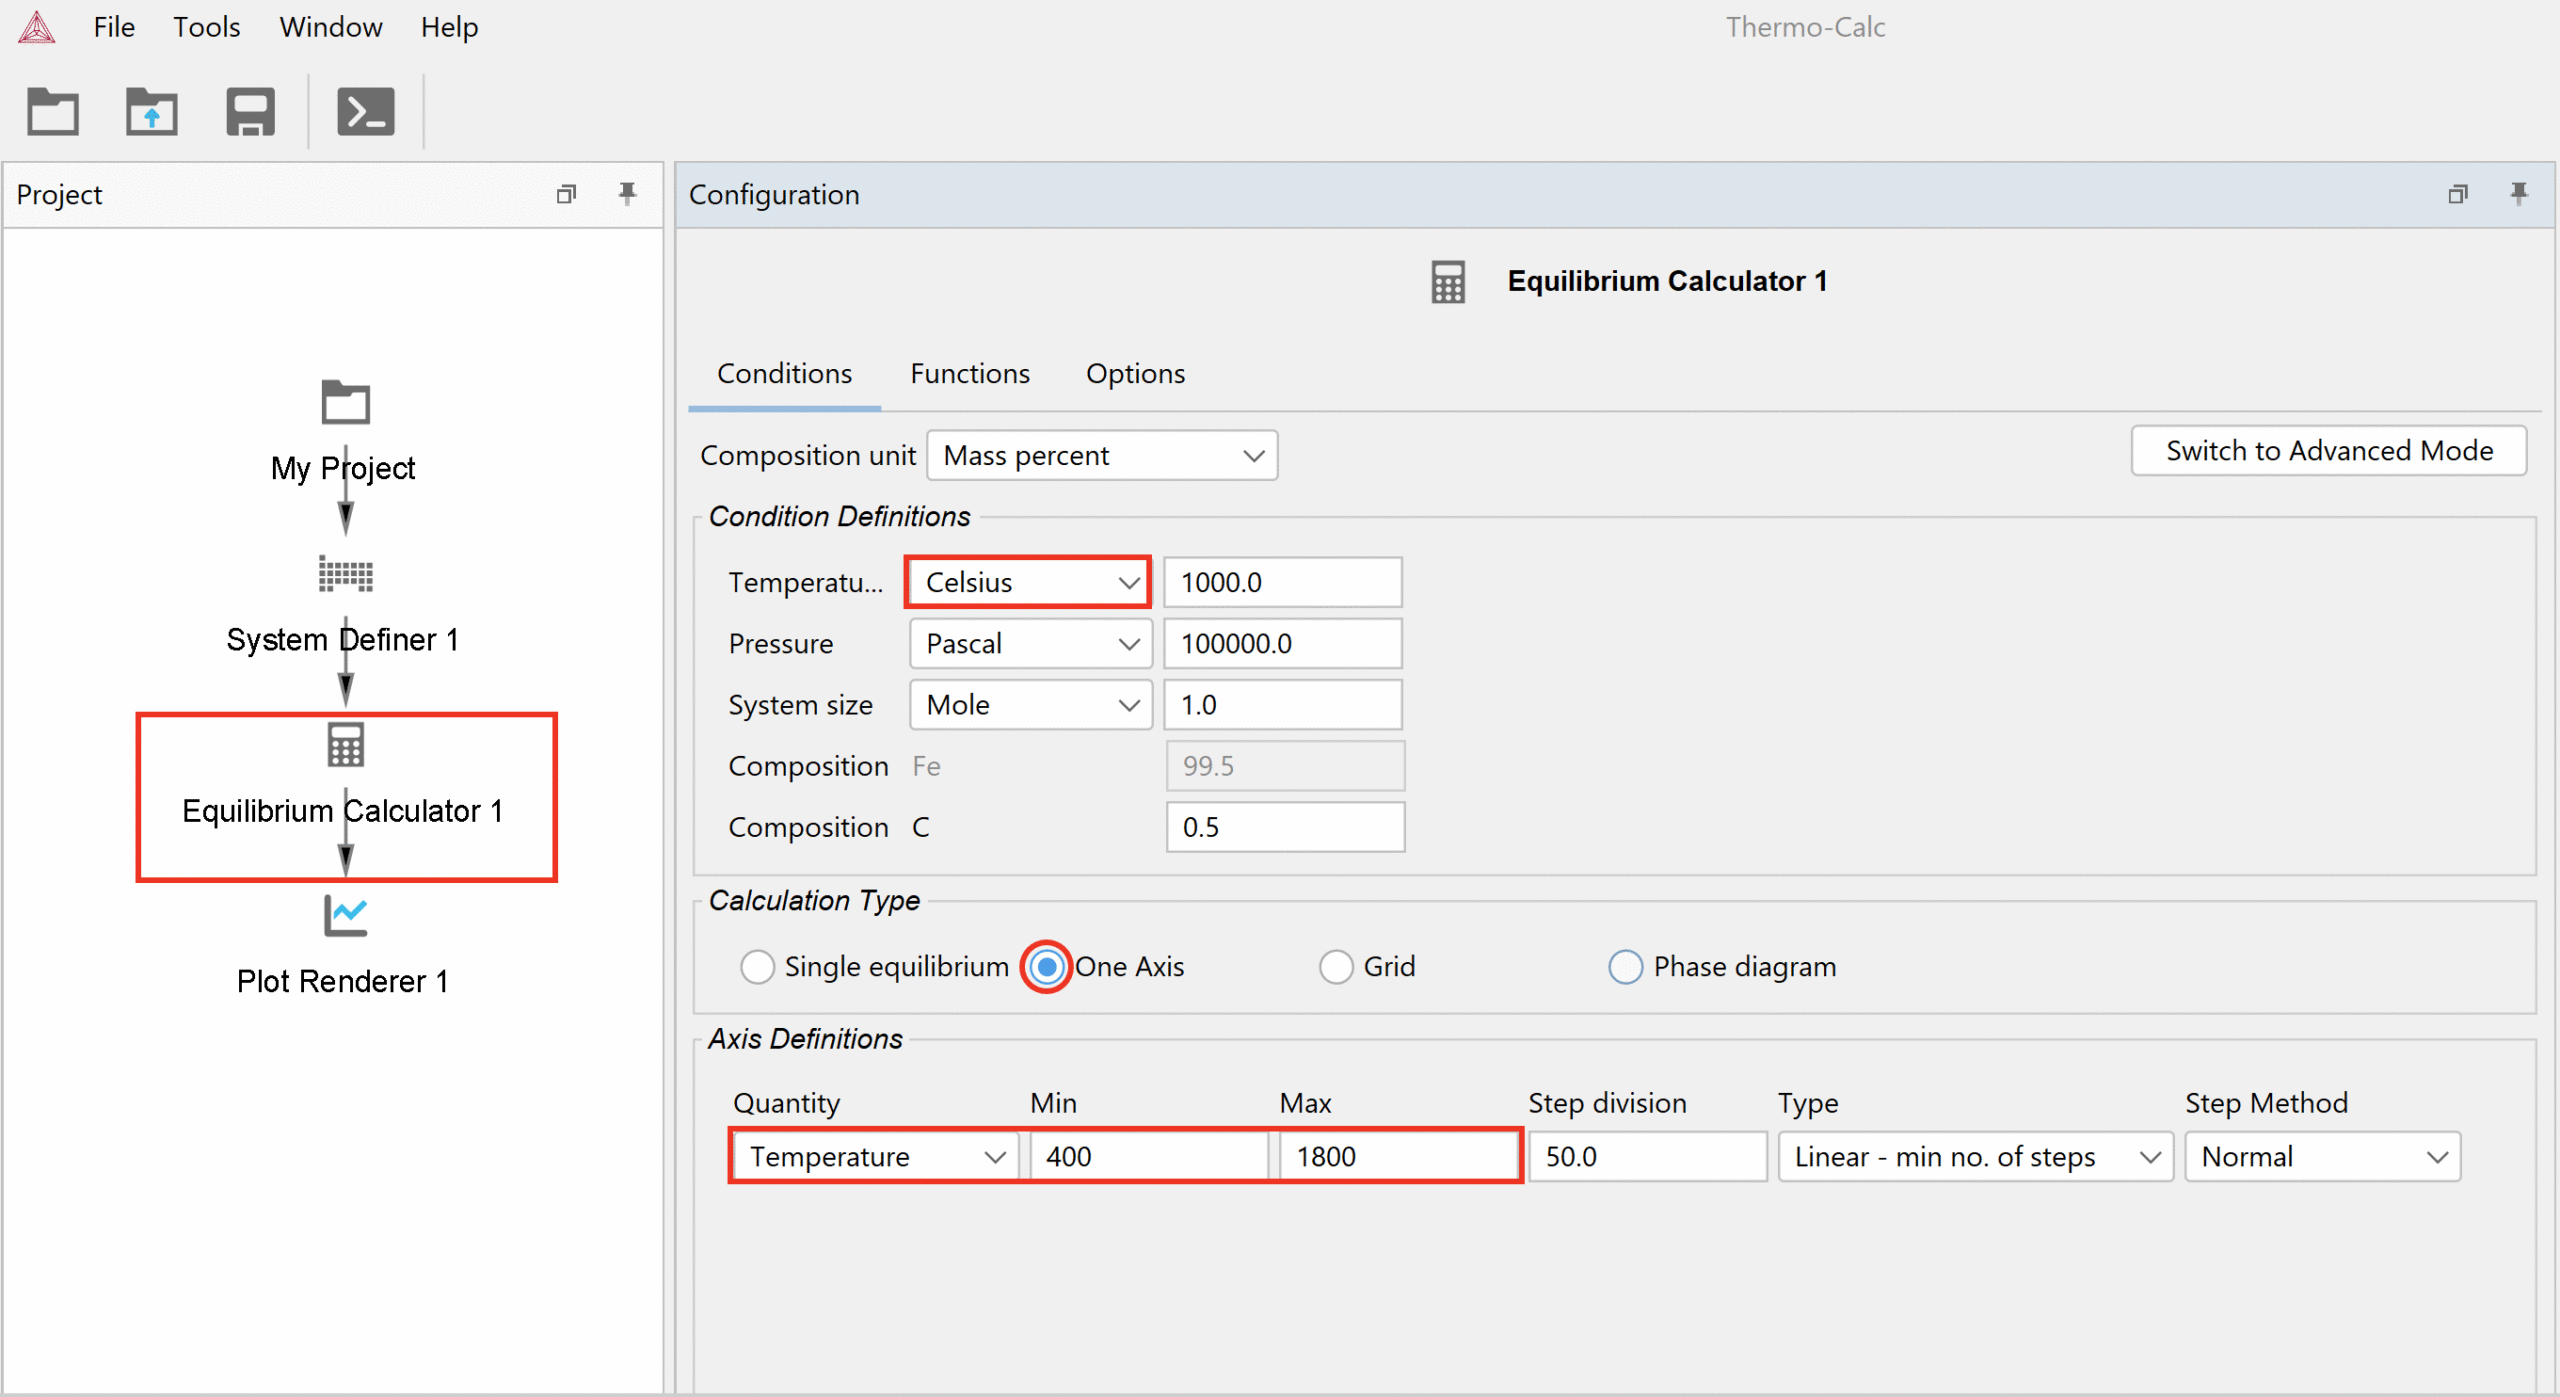
For this calculation:
Step 3
Select the elements that you want to include in your calculation. Make sure to select the dependent variable first.
For this calculation:
Step 4
Change the composition for your material by changing the numbers in the text box to the right of the Configuration window.
For this calculation:
For this calculation:
For this calculation:
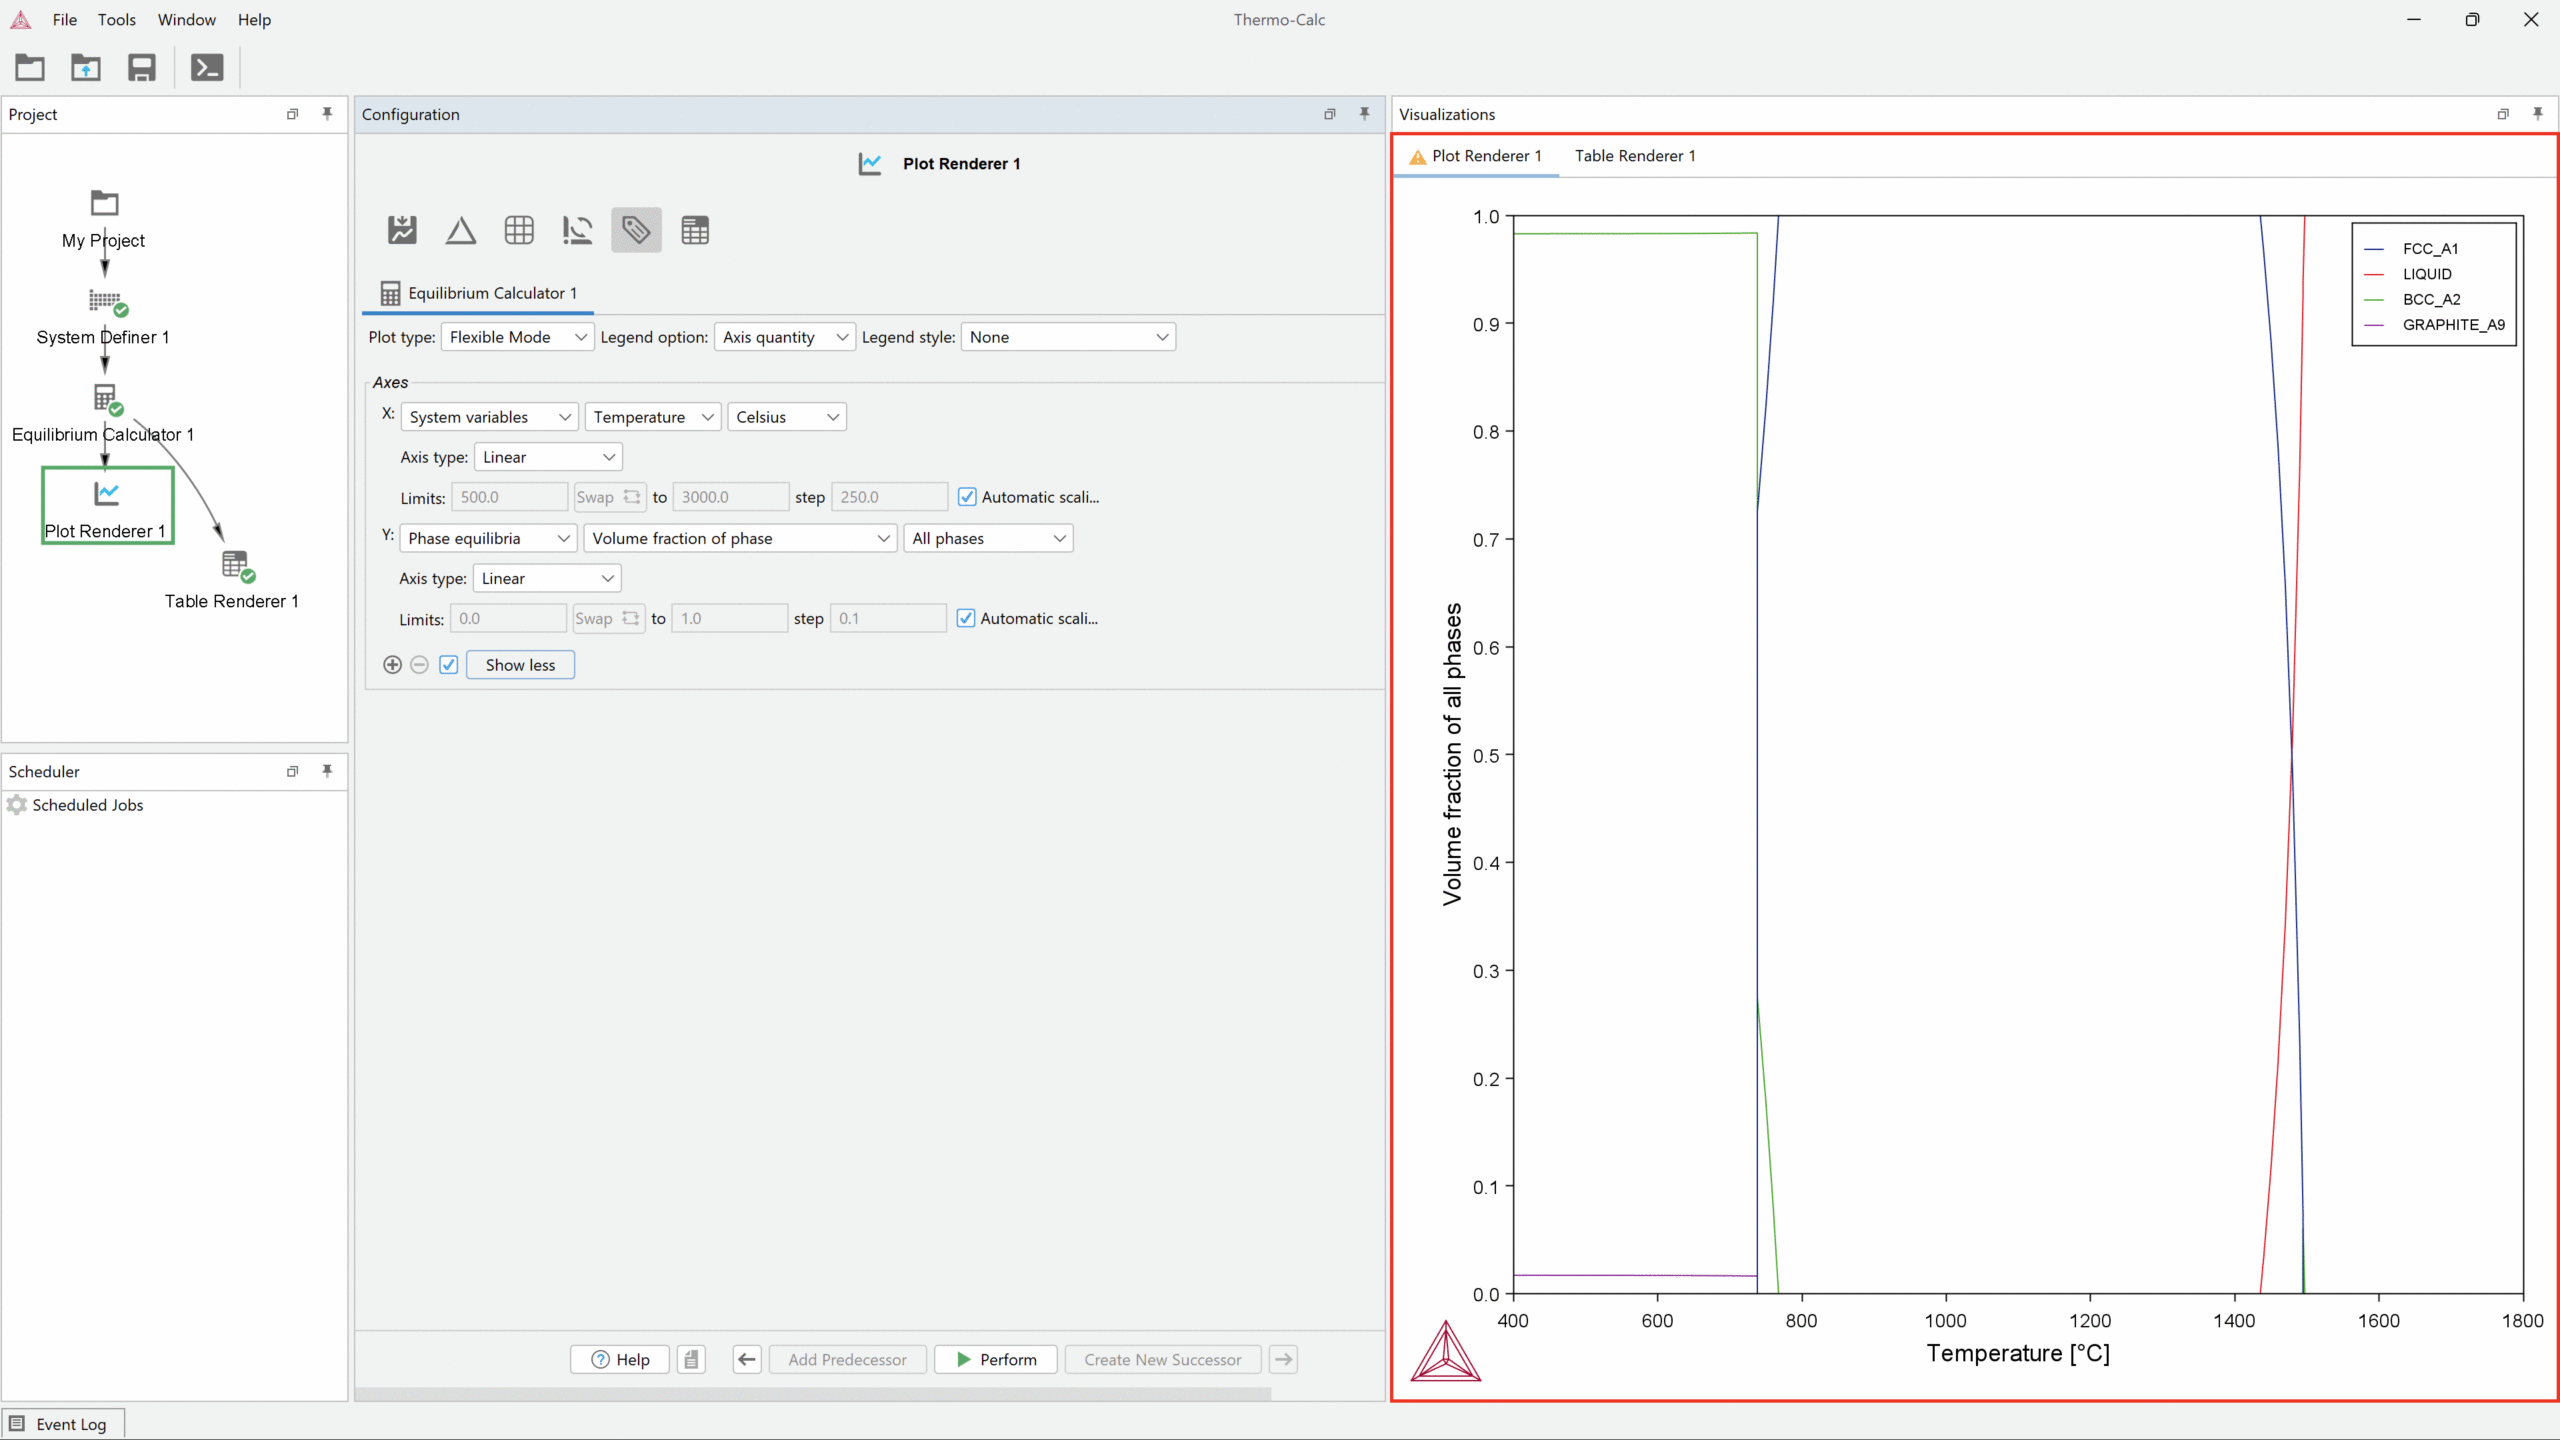
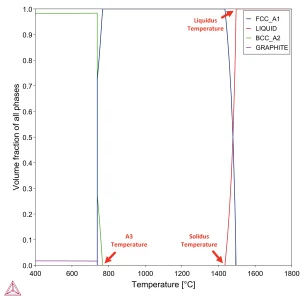
Interpretation of the Result
View the Results in a Table
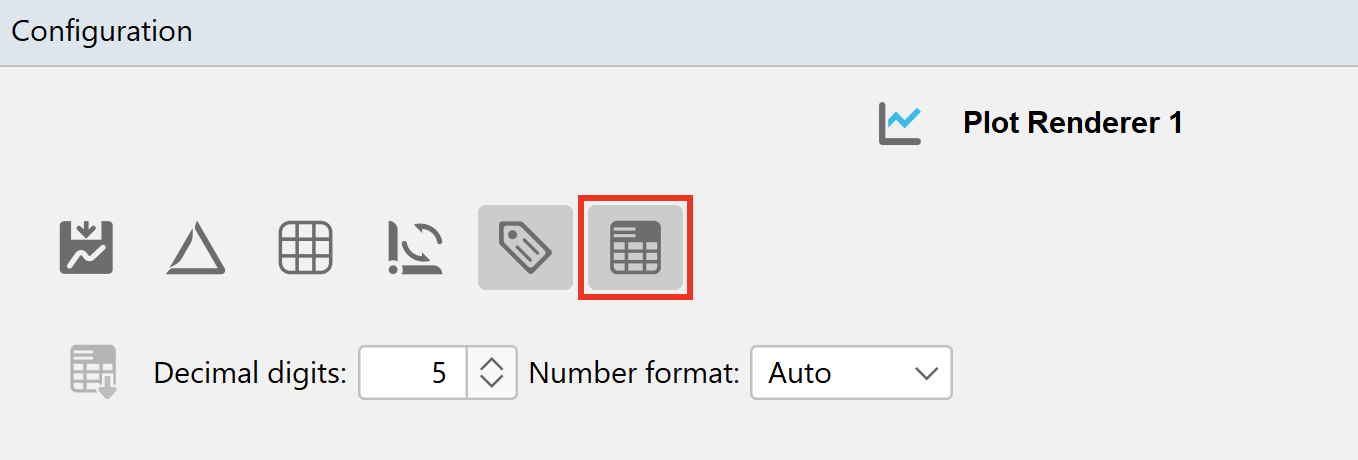
If you want the result shown in a table, you can easily add a Table Renderer by right-clicking on the Equilibrium Calculator node > Create New Successor > Table Renderer, and the Table Renderer node will appear in the Project window.
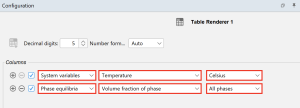
In the Table Renderer node you can select the different properties you want to show in the columns of the table by clicking on the drop-down list.
For this calculation:
Step 1
Depending on which window you are in:
- In the Visualizations window, right-click the diagram and select Save As…
- In the Configuration window you can also click the Save Diagram buttons to open the Save window.
Step 2
In the Save window:
- Navigate to where you want to save the diagram.
- Enter a file name.
- From the Files of Type list choose png (the default), jpg, ps, pdf, gif, svg, or emf.
- You can set the resolution of the image by unchecking the Use default resolution box and setting a different resolution.
- When you are ready, click Save.
Step 1
Depending on which window you are in:
- In the Visualizations window, right-click the diagram and select Save As…
- In the Configuration window you can also click the Save table button to open the Save window.
Step 2
In the Save window:
- Navigate to where you want to save the diagram.
- Enter a file name.
- From the Files of Type list choose Character separated [*.csv], Hyper Text Markup [*.html], or Excel [*.xls].
- When you are ready, click Save.
Step 1
Navigate to the top menu and select File > Save Project or Save Project As…
Step 2
In the Save Project window:
- Navigate to where you want to save the table.
- Enter a file name.
- When you are ready, click Save.
Step 1
On the homescreen of the software, click the Example Files icon.
or
Navigate to the top menu and click Help > Example Files…
Step 2
A pop-up window will appear, showing folders with calculations for the different modules. Navigate through the folders, select the calculation you want to run, and click Open.
Step 3
When the example file opens, the different activity nodes will appear in the Project window. To run the calculation, right-click on the top node and click Perform Now.
To rename an activity node you simply right-click on the node in the Project window and select Rename. Write the name of the node in the textbox and click OK.
Save the project as usual.
Once you reopen your project, the name of your nodes will be the same as when you saved the project.
Go to the activity node where you want to add a note. Click on the page button at the bottom of the Configuration window. Save your project as usual and the note will be saved with your project file.
In the Plot Properties window, you can edit fonts and font size for the labels, legends, and titles. You can also change the line thickness, color, and more.
Play around with the settings and see what settings are best for your purpose.
As of the 2022b release, you can use themes to save your plot settings. This is especially useful if you need consistent looking plots, for example, for a presentation, publication, or collaboration. The theme settings are located at the top of the properties window. You can either use the predefined plot themes or define your own themes.
You can read more about the themes by searching for Plot Themes in the online help. The online help is accessed from within Thermo-Calc in the Help menu > Online Help.
- Right-click on the plot
- Click Add Label…
- Write the name of the label in the text box
- When you are ready, click OK
